How to Measure for Plantation Shutters to Perfectly Fit Your Bespoke Home Interiors
Posted by lamb27671@gmail.com on
Picture this: you’ve just fallen in love with a pair of sleek French doors, or maybe a cozy bay window, and the thought of adding plantation shutters makes your heart skip a beat. But when you pull out the tape measure, doubt creeps in. Does a small mis‑step ruin the whole look?
Don't worry—most of us have been there, standing in the living room, measuring twice, and still wondering if the shutters will fit like a glove. The good news? Measuring for plantation shutters is actually a simple, step‑by‑step process once you know the right points to check.
In this guide we’ll walk you through every measurement you need—width, height, and the little nuances like rebate depth or mounting style—so you can order shutters that slip into place without a second‑guess. Think of it like tailoring a suit: you need the exact cut to make the fabric drape perfectly, and the same principle applies to your windows.
Imagine ordering a set of basswood shutters from Harvey Bruce—renowned for their luxurious feel and sustainable sourcing—only to discover they’re a fraction too wide. That tiny error could mean extra trimming, a compromised look, or even the need to start over. By nailing the measurements first, you protect both your vision and your budget.
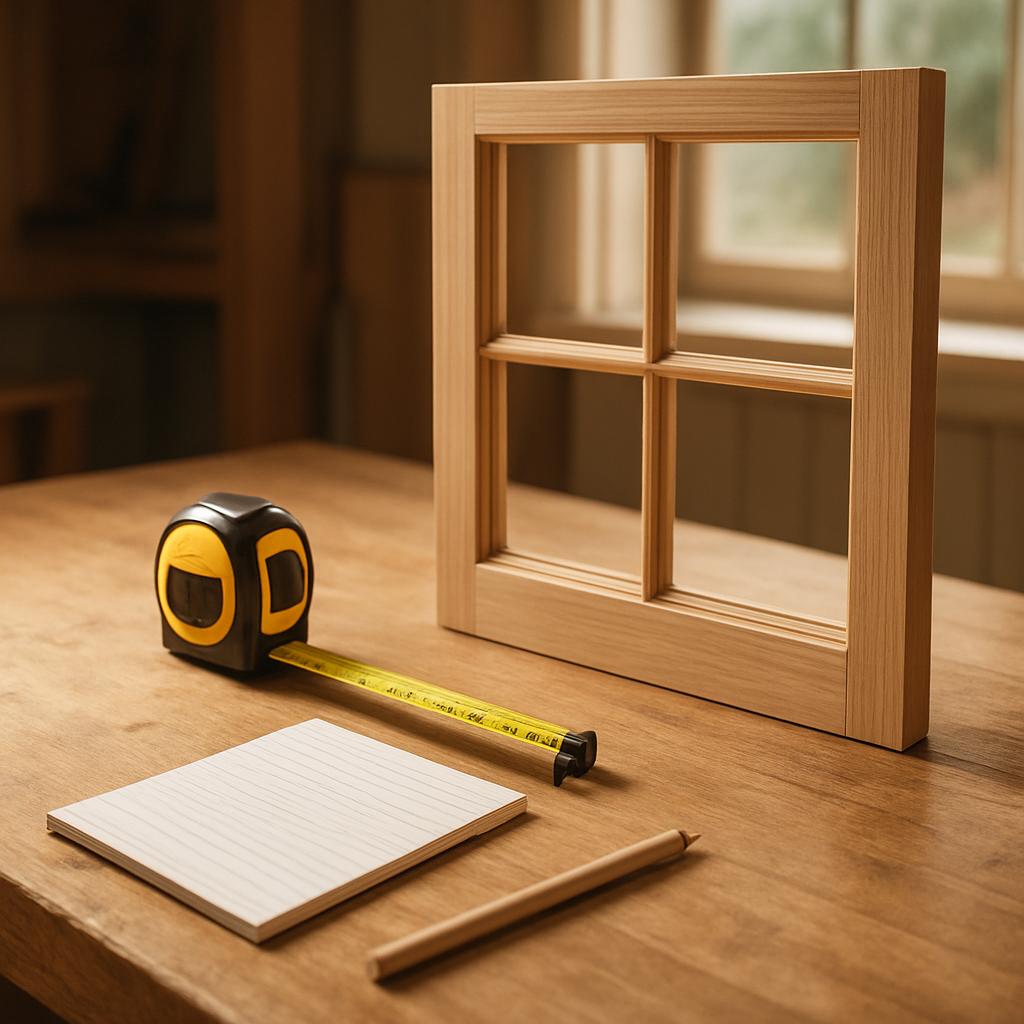
So, what’s the first thing you should grab before you even step to the window? A steel tape, a notebook, and a clear head. We’ll break down each step, share pro tips—like measuring at three points to account for irregular frames—and show you how to double‑check before you click ‘order’ on those custom shutters.
Ready to get confident with your numbers? Let’s dive in and turn those measurements into a flawless, handcrafted look that elevates your home the way only Harvey Bruce can. You’ll feel the excitement of seeing them install perfectly, no guesswork required.
TL;DR
Measuring for plantation shutters is a quick, three‑point process that guarantees a perfect fit and saves you costly mistakes.
Follow our step‑by‑step guide, double‑check each dimension, and you’ll order custom shutters from Harvey Bruce with confidence, turning any window into a handcrafted, luxe statement that perfectly complements your décor today.
Step 1: Gather Tools & Prepare the Space
Alright, before we even think about the tape measure, let’s make sure the space around your window is ready for a little DIY session.
It’s easy to underestimate how much clutter or a stray curtain rod can throw off your numbers, so take a moment to clear the area. Imagine you’re setting up a small studio for a photoshoot – you want everything in view, no distractions.
Tools you’ll need
Grab a sturdy steel tape (the kind that snaps back into place), a sharp pencil, a fresh notebook or a notes app on your phone, a level, and a small flashlight for those hard‑to‑see corners. If you have a laser measure, great – but a good old tape works just as well.
Don’t forget a helper. A second pair of eyes can hold the tape while you read the numbers, and it’s also handy for spotting any irregularities in the frame.
Preparing the space
First, pull the curtains or blinds completely aside. If you have a curtain rod, unscrew it and set it aside – you’ll need unobstructed access to the window’s edge.
Next, lay down a drop cloth or an old sheet. This protects your floors from any stray pencil marks and gives you a clean surface to jot down measurements.
Check the window frame for any moisture or damage. If you’ve recently dealt with a leak, make sure the wood is fully dry; you can follow this step‑by‑step guide to drying walls without drilling to avoid hidden swelling that could affect the fit.
Now, stand back and look at the window from both the inside and the outside. Are there any protruding mouldings or decorative trims? Note them down – they’ll influence whether you choose an inside‑mount or outside‑mount shutter.
Once the area is cleared, it’s time for a quick visual scan. Turn on a bright lamp or open another window for natural light. This helps you spot dust, cobwebs, or tiny gaps that could skew your measurements later.
With the space prepped, you’re ready to start the three‑point measurement process. But before you do, remember to double‑check that the floor is level – an uneven floor can make a shutter look slanted once it’s installed.
Take a moment to write down the exact width at the top, middle, and bottom of the opening. Write the height at the left, centre, and right. These six numbers will be your safety net against any irregularities.
If you’re in the middle of a larger renovation – say you’re swapping out kitchen benchtops – the same meticulous prep applies. For inspiration, check out this practical guide to kitchen benchtop replacement in Tamworth and see how a clean work zone makes every measurement count.
Finally, give yourself a quick mental run‑through: tape ready, notes ready, space clear. If anything feels off, pause and adjust now rather than later when the shutters arrive. A few extra seconds now saves you headaches (and possibly a costly return) down the line.
Now that you’ve gathered your tools and prepped the space, you’re set to move on to the actual measuring. Let’s get those numbers right and make those custom plantation shutters fit like they were built for your home.
Step 2: Measure the Inside Mount
Now that your workspace is tidy and your tools are within arm’s reach, it’s time to get the real numbers that will tell your shutters where to sit.
Ever stood in front of a window and wondered whether the shutters will hug the frame or float awkwardly in the middle? That little uncertainty disappears once you master the inside‑mount measurement.
Why the Inside Mount?
Choosing an inside mount means the shutters sit snugly inside the window frame, giving a clean, built‑in look that’s perfect for the sleek aesthetic Harvey Bruce is known for.
Because the shutters are hidden behind the trim, you’ll need the exact width and height of the opening—not the overall window size.
Gather Your Tape & Tools
Grab your steel tape, a carpenter’s square, a notebook, and a pencil. If you have a small level, keep it handy; it’ll help you spot any tilt in the frame that could affect the fit.
Take a quick glance around the perimeter: are there any decorative mouldings, handles, or security sensors that stick out? Write those down now—they’ll dictate how much clearance you need.
Step‑by‑Step Measuring
1. Width. Measure the inside of the frame at the top, middle, and bottom. Write down each number, then use the smallest measurement as your final width. This accounts for any slight tapering of the frame.
2. Height. Do the same vertically—measure the left side, centre, and right side from the sill up to the top of the frame. Again, the smallest figure wins.
3. Rebate depth. If your window has a rebate (the shallow groove where the glass sits), slide the tape into it and measure the depth. Most inside‑mount shutters need 2‑3 inches of clearance, but note the exact number for your order.
4. Clearance for hardware. Some shutters have tilt rods or lift handles that require a little extra room. Add a half‑inch to each side if you see any protruding hardware.
Double‑Check and Note
Now that you’ve got your three‑point width and height, compare the numbers. Do they match? If one side is a fraction off, trust the smallest measurement—that’s the safe bet.
Take a photo of the window with your notebook open; it’s a quick visual reference if you need to revisit the numbers later.
Common Pitfalls
Don’t measure from the outer edge of the trim—that’s a classic mistake that leads to shutters that look like they’re trying to escape the frame.
Also, avoid using a flexible cloth tape; it can stretch and give you a reading that’s an inch too long.
And remember, if the frame isn’t perfectly square, the carpenter’s square will reveal it. A few degrees off can create a gap that’s noticeable once the shutters are closed.
Once you’ve written down the final width, height, and rebate depth, you’re ready to feed those numbers into Harvey Bruce’s custom order form. Trust the process, and you’ll end up with shutters that slide effortlessly, look bespoke, and elevate your home’s interior.
Feeling confident? Great. The next step will be all about confirming the mounting style and ordering the perfect set for your space.
You’ve got this.
Step 3: Measure the Outside Mount
Okay, you’ve nailed the inside‑mount numbers, but now you’re wondering if an outside‑mount might give you a cleaner look and a little extra breathing room. Outside‑mount shutters sit on the wall, framing the window rather than hiding inside it. That means the measurements are a bit different, and they can actually mask any quirks in your window’s shape.
Why Choose an Outside Mount?
First off, think about those older windows that aren’t perfectly square. An outside mount creates a shallow box around the window, so any unevenness gets tucked behind the shutter frame. You also keep the ability to tilt the window inward for cleaning – a huge win for tall or hard‑to‑reach panes.
And if you love an unobstructed view, the outside frame stays outside the glass, so you get the full panorama when the shutters are open.
Gather Your Tools (Again)
- Steel tape measure
- Carpenter’s square
- Pencil or pen
- Notebook (or a notes app)
- Level (optional but helpful)
Set those tools on a small “measurement station” right next to the window – just like you did before. Having everything within arm’s reach keeps the process smooth.
Step‑by‑Step Outside‑Mount Measuring
1. Determine the mounting clearance. Measure the distance from the wall surface to the outer edge of the window casing. Most outside‑mount shutters need about 2‑3 inches of clearance so the frame can sit flat without pressing against the trim.
2. Measure the overall window width. Run the tape from the left wall edge to the right wall edge, not just the glass. Do this at the top, middle, and bottom. Write down each figure and use the smallest number – that’s the width your shutter frame can occupy.
3. Measure the overall window height. Start at the floor or sill, then measure up to the top of the wall opening. Again, take three points (left, centre, right) and keep the smallest reading.
4. Check for protruding hardware. Look for window handles, cranks, or security sensors that stick out beyond the wall plane. Measure how far they project and add that amount to your clearance calculation.
5. Note the rebate depth. If the wall has a shallow recessed ledge (a rebate), slide the tape into it and measure how deep it is. That depth tells you how far the shutter frame will sit from the wall surface.
Real‑World Example
Imagine a bay window in a living‑room that’s 48 inches wide at the top, 46 inches wide at the bottom, and 50 inches high. Your wall opening, however, is 2 inches deeper than the window casing because of a decorative plaster border. You’d record:
- Width: 46 in (smallest reading)
- Height: 50 in
- Clearance needed: 2 in (wall‑to‑casing) + 0.5 in (hardware) = 2.5 in
Those numbers go straight into Harvey Bruce’s order form, and the resulting shutters will sit proudly over the bay, hiding the plaster’s irregularities.
Quick Checklist Before You Submit
- Smallest width and height recorded
- Total clearance (wall‑to‑casing + hardware) noted
- Rebate depth captured if present
- Photos taken of the window from both inside and outside for reference
If anything feels off, double‑check with the carpenter’s square – a few degrees off can create a light gap that defeats the whole purpose of a custom fit.
Comparison Table
| Feature | Outside Mount | Key Consideration |
|---|---|---|
| Mounting Position | On wall, around window | Requires wall clearance (2‑3 in) |
| Frame Visibility | Frames sit outside casing | Can hide imperfect window squares |
| Window Tilt | Does not block inward tilt | Easy cleaning of high windows |
Now that you’ve got the numbers, you’re ready to order shutters that look custom‑built, even if your window isn’t. Remember, the goal is a seamless, luxurious finish that lets you enjoy the view without a second‑guess.
Feeling confident? Great. The next step will walk you through confirming the mounting style on the order form and choosing the perfect louver size for your space.
Step 4: Calculate Shutter Size & Order
Alright, you’ve measured, you’ve noted the clearance, and you’ve got a tidy checklist. Now it’s time to turn those numbers into a set of shutters that fit like they were carved right on site.
Ever felt a flutter of doubt when you stare at an online order form? That’s normal. The trick is to keep the math simple, double‑check everything, and trust the process.
Gather Your Numbers
Pull out the sheet where you wrote width, height, rebate depth, and any hardware clearance. You should have three key figures:
- Final width – the smallest of the three width readings.
- Final height – the smallest of the three height readings.
- Total clearance – wall‑to‑casing plus any hardware offset.
Write those three numbers on a fresh line, just the digits, no extra symbols. This clean line will be what you copy into the order calculator.
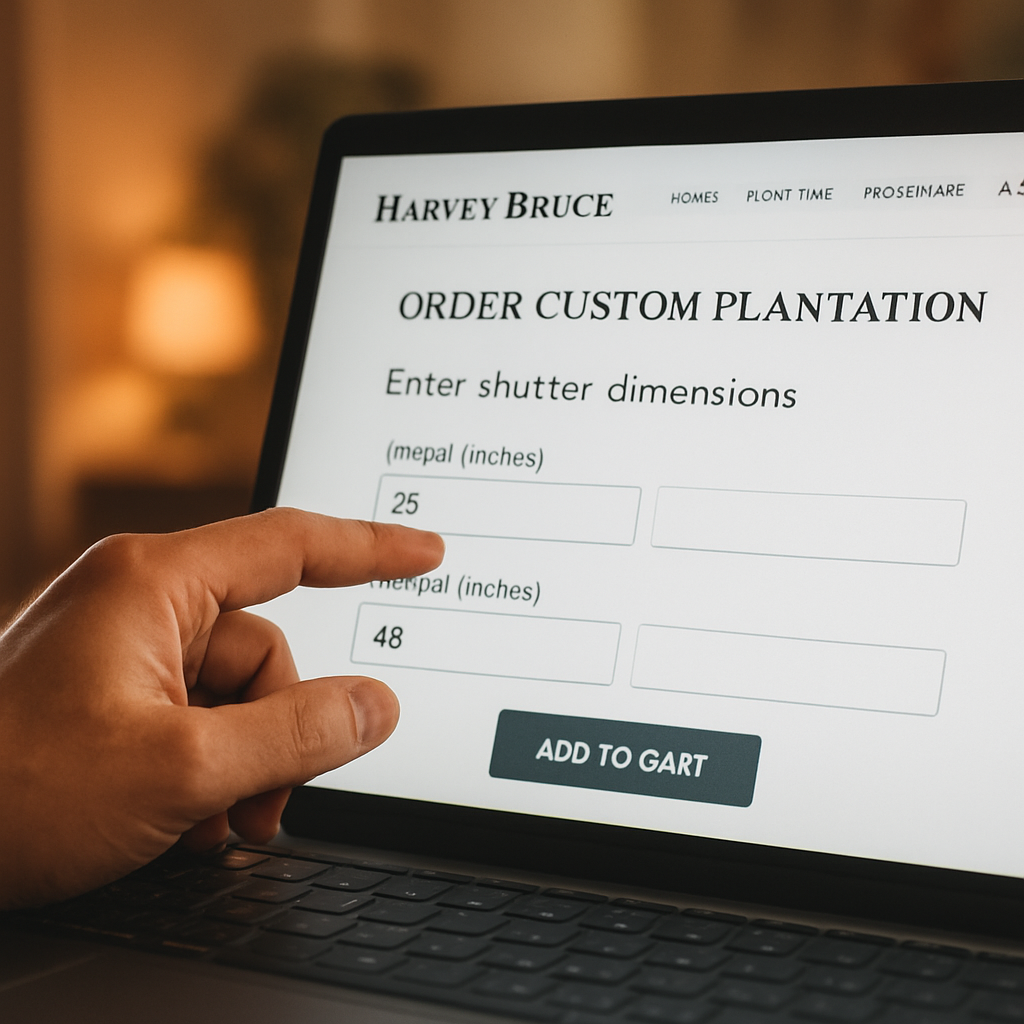
Plug Into the Order Form
Head over to Harvey Bruce’s custom shutter page. You’ll see fields for width, height, and mounting style. Pop the numbers in exactly as they appear on your notes. Remember, the system assumes you’re ordering an inside‑mount unless you tick the outside‑mount box.
If you’re ordering for a bay window, the form will ask whether you want a single panel or a multi‑panel layout. Choose the layout that matches the visual you imagined earlier – usually a three‑panel set for a classic look.
Most people forget to select the louver size at this stage. A 2‑inch louver gives a crisp, modern vibe, while a 3‑inch louver leans more traditional. Pick the one that complements your room’s scale.
When you’re satisfied, the form will calculate the overall shutter size for you. That’s the fabricated frame that will sit over your window, not the raw opening dimensions.
Seeing those numbers line up on the screen feels oddly satisfying.
Double‑Check Before You Hit Submit
Take a breath and run through this quick sanity check:
- Do the width and height numbers match the smallest readings you recorded?
- Is the clearance figure at least 2 inches for an inside mount, or 2‑3 inches for an outside mount?
- Did you add the extra half‑inch for any tilt rods or handles?
- Are you sure the louver size you chose aligns with the overall aesthetic?
If anything feels off, go back to your notebook, re‑measure that one spot, and update the form. It’s far easier to fix a typo now than to wait for a return shipment.
Pro Tip: Order a Sample Board
Harvey Bruce offers a low‑cost sample board of the chosen basswood. Ordering one gives you a tangible feel for the grain, colour, and heft before the full set arrives. It’s a tiny investment that can save you from a style mismatch later.
Once you click “Place Order,” you’ll receive a confirmation email with all the dimensions listed. Keep that email handy – it’s your final proof that the numbers you entered were the ones the workshop will use.
And that’s it! You’ve turned raw measurements into a polished order, set the stage for a flawless install, and kept the whole process delightfully human.
Feeling good about the numbers? Great. The next step will walk you through confirming the mounting style on the order form and choosing the perfect louver size for your space.
Step 5: Coordinate Shutter Style with Homeware & Furniture
Now that you’ve got the exact numbers and placed your order, the next puzzle piece is making sure the shutters feel like a natural extension of the room’s existing décor. It’s easy to fall into the trap of picking a louver size that looks great on its own but clashes with the sofa, rug, or dining table you already love.
Start with a Style Mood Board
Grab a sheet of paper or open a digital board and paste a photo of the window, a picture of your favourite armchair, and a snap of the rug you plan to keep. Look for common threads – is the palette warm oak, cool charcoal, or bright white? Do the lines feel sleek and modern, or more relaxed and traditional?
When you can see everything side‑by‑side, the decision about shutter colour and louver width becomes a lot less guessy. If you notice a deep navy sofa and brass‑finished coffee table, you might lean toward a dark‑stained wood or a painted white shutter that lets the furniture shine.
Match Shutter Finish to Existing Wood
One of the easiest ways to create harmony is to echo the finish of a nearby piece. For instance, if you have a walnut dining table, choose a walnut‑tone basswood shutter. The grain will pick up the same warm undertones, making the window feel like it belongs.
Don’t have a matching wood? No problem. A painted or lacquered finish can be a subtle bridge. A soft, matte white works wonders with a crisp linen sofa and a light‑coloured rug, while a charcoal grey adds drama next to a leather sectional.
Consider Louver Size as a Design Rhythm
Think of louver width like the beat in a song. A 2‑inch louver gives a crisp, contemporary rhythm that pairs nicely with sleek metal legs, glass coffee tables, and minimal‑ist art pieces. A 3‑inch louver, on the other hand, feels more classic – perfect for a room with plush velvet cushions, carved wood frames, or a vintage chandelier.
Here’s a real‑world example: a client in a coastal cottage had a reclaimed pine coffee table and a sea‑foam wall colour. We chose 2‑inch louvers in a light‑washed pine finish, which echoed the table’s weathered look while keeping the breezy vibe of the room.
Play with Hardware and Accessories
Hardware – the tilt rod, lift handles, and hinges – can either blend in or become a statement. If you love a modern look, pick brushed nickel or matte black hardware that mirrors the metal legs of your side chairs. For a softer, cottage feel, oil‑rubbed bronze handles can echo the antique brass of a chandelier.
Pro tip: keep hardware within ½‑inch of the louver edge to avoid visual clutter. Too much protrusion can throw off the clean line you’re after.
Test with Swatches Before You Commit
Harvey Bruce offers a low‑cost sample board of the exact basswood grain you’re eyeing. Order one, place it on a coffee table, and view it under the room’s natural light at different times of day. You’ll instantly see whether the tone sings with your existing pieces or looks out of place.
In one recent project, a homeowner was torn between a dark walnut shutter and a lighter oak. The sample board revealed that the walnut looked too heavy against the pale plaster walls, so they switched to a lighter oak that balanced the heavy marble floor beautifully.
Integrate Shutters with Other Homeware
Think beyond the window. A set of matching wooden blinds, a coordinating mirror, or even a decorative wall shelf can pull the look together. For example, a mirrored wall panel directly above the shutters can reflect light, making the room feel larger – a trick that works especially well in narrow hallways.
If you have a statement rug, let the shutter colour pick up one of its accent hues. That tiny echo creates a visual thread that guides the eye around the room, making everything feel curated rather than assembled.
Checklist Before Finalizing
- Confirm shutter colour matches or complements a dominant wood/furniture piece.
- Choose louver size that aligns with the room’s overall style rhythm.
- Select hardware that mirrors other metal finishes in the space.
- Order a sample board and place it in the room for a light test.
- Consider a coordinating homeware piece – mirror, shelf, or decorative tray – to tie the window into the larger design.
When you walk through these steps, you’ll end up with shutters that don’t just cover a window but become a seamless part of your interior story.
Need some inspiration? Check out Designing Elegant Spaces with Plantation Shutters for French Doors for a deeper dive into how shutters can frame a doorway and complement bespoke furniture.
And when you’re ready to bring everything together, you might want a professional hand to ensure the fit is perfect. A trusted partner like LGFMH Construction can handle the installation, so your new shutters sit flawlessly alongside your cherished homeware.
FAQ
How do I know if I need an inside or outside mount for my plantation shutters?
Start by looking at the window’s trim and the wall space around it. If the frame is clean, square and you want a sleek, built‑in look, an inside mount is usually best. When the opening is uneven, the wall has a decorative border, or you need extra clearance for hardware, an outside mount hides those quirks and gives you a little breathing room. Most homeowners pick the style that matches the room’s overall vibe.
What are the three points I should measure for width and height?
Measure at the top, middle and bottom of the opening for width, and at the left, centre and right for height. Write each number down, then use the smallest measurement as your final figure. This three‑point method captures any tapering or slight warping in the frame, ensuring the shutters won’t jam or leave unsightly gaps when they close.
How can I account for irregular window frames when measuring?
Irregular frames are more common than you think, especially in older homes. After you’ve taken the three‑point width and height, run a carpenter’s square along each edge to spot any angles that aren’t 90 degrees. If you find a tilt, note the smallest reading – that’s the safe dimension. Some installers also recommend a ¼‑inch wiggle room on the side that’s most out of square.
Do I need to measure rebate depth and why does it matter?
Yes, rebate depth tells you how far the shutter frame will sit behind the window’s shallow groove. Most inside‑mount shutters need 2‑3 inches of clearance, but if the rebate is shallower you might have to choose an outside mount or adjust the mounting hardware. Ignoring depth can lead to a shutter that sits too tight, making the louvres hard to tilt.
What tools are essential for accurate measurements?
Grab a steel tape (cloth tapes stretch), a carpenter’s square, a pencil, and a notebook or phone app. A level helps you spot wall tilt, and a small flashlight reveals hidden trim. Keep everything on a “measurement station” right by the window so you’re not scrambling for a pen midway through.
How should I double‑check my numbers before ordering?
After you’ve recorded the smallest width, height and rebate depth, take a quick photo of the window with your notes visible. Then, compare each figure against the other two points you measured – if any number looks off, measure that spot again. Finally, run a sanity check: does the width plus any hardware clearance still fit inside the wall opening? A brief pause now saves a costly return later.
Can I order a sample board before committing to full shutters?
Absolutely. Harvey Bruce offers low‑cost sample boards of the exact basswood grain you’re considering. Place the board on a coffee table and view it at different times of day to see how the colour shifts with natural light. The sample lets you confirm that the finish complements your existing furniture and rug before you place the full order, giving you confidence in the final look.
Conclusion
So there you have it—by treating the window like a tailor treats a suit, you can finally answer the question “how to measure for plantation shutters” without any guesswork.
We started with a clean workspace, grabbed the right tools, and walked through the three‑point width and height method. Then we double‑checked the rebate depth, accounted for hardware, and even took a quick photo for proof. Those tiny habits save you from costly returns and give you that “fits like a glove” feeling when the shutters arrive.
Think about the moment you’ll stand back and watch the shutters glide shut, perfectly aligned with your furniture and the light spilling in. That confidence comes from those simple, repeatable steps you just practiced.
What’s next? Grab that sample board, match it to your décor, and place the order with Harvey Bruce. If anything feels off, pause, re‑measure that one spot, and trust the process – it’s easier than you think.
Remember, precise measuring isn’t just a task; it’s the first brushstroke in a room‑wide transformation. Go ahead, measure, order, and let your home tell the story of thoughtful design.
If you ever feel unsure, revisit this guide – the steps are there to keep you confident every time you measure a new window.
← Older Post Newer Post →
